Can’t ID that color? Not ready to commit to a new paint job? It’s still possible to match mystery paint perfectly
Paint jail. It’s a known menace to our craft, one that has seen the demise of many a project. It’s the car crafting version of a roach motel-cars go in but they don’t come out. It usually goes like this: Your car’s finish is showing some age, so you seek out an ambitious bodyman who promises he’ll have your project looking sweet before the next cruise night. Wired with anticipation, you drop the car off. Six months later, it’s still there. And it’s in the back corner of the shop, in pieces and covered in dust. The notion of a quick respray was the catalyst that brought grinder to fender, which in turn brought to light the horrors and tragedies your car has suffered over the past 35 years. And now they have to be dealt with.
Maybe your experiences have been better, but we doubt it. In our case, the car conjuring body-shop nightmares was our ’67 Camaro. The thing’s a relative rarity around the CC offices: an old car that’s actually assembled and runs and can even provide occasional transportation. It didn’t look bad either, with the obvious exception of the passenger door. The previous owner had crunched it, then bolted on a new one and never took care of the paint, leaving it in faded-black rattle-can primer and screwing up what would otherwise be a pleasant viewing experience. In reality, the whole car could use some body attention, but we have a pretty good idea that lurking under the four previous paint jobs are issues we’re not prepared to face. Pulling this thing down to its elements would only destroy its current utility and mandate a lengthy resto, and we’re just not ready for that kind of commitment.
That left the option of a paint repair, but there was another problem: The color’s origins were anyone’s guess. The Camaro left the factory in Van Nuys, California, wearing Granada Gold paint, but later on someone decided he liked green better. The hue resembled a late-’80s color trend, a bluish-green metallic that definitely wasn’t on GM’s ’67 palette. We needed help, but most local collision shops wanted nothing to do with our relic.
Then we were turned on to Crook Brothers Auto Body, where Chris Manzo and Robert Matheson keep vintage Mustangs alive and looking good. Plenty of body shops can offer color matching, but few have enough patience for old cars and their unique problems to get it right. The crew at Crooks proved that by combining standard techniques and equipment with a little extra effort, older paint jobs can be successfully touched up. In the process, paint-jail sentencing is successfully postponed while we buy a couple of more years of sheetmetal denial.
Запекание карт нормалей: Substance Painter vs Marmoset
В прошлой статье мы разобрались с процессом подготовки ассета к запеканию, ошибками и их последствиями. В этой статье поговорим о кнопках, программах и о практической стороне запекания.
Художнику доступно множество разных софтов, которые поддерживают запекание карт нормалей. Мы рассмотрим Substance Painter и Marmoset — два самых популярных софта с современным инструментарием.
Substance Painter — программа для процедурного текстурирования от Allegorithmic. Кроме текстуринга, в ней можно запекать карты: Ambient Occlusion, Normal map, Curvature, ID, World Space Normal, Position и Thickness.
Чтобы начать работу с моделью в Substance Painter, нужно создать новый проект, выбрать подходящий «Document Resolution», назначить подходящий «Normal Map Format» и найти файл с лоуполи, который мы предварительно экспортировали из 3D редактора, в графе File — Select.
Document Resolution лучше выбирать такой же, как и для экспорта финальных текстур. Если же мощность ПК не позволяет работать с нужным разрешением — понижаем его. Главное — при запекании и экспорте указывать правильный резолюшн.
Также не стоит забывать про графу Template. В ней нужно выбрать основные параметры проекта. Именно там можно переключаться между Metall/Rough и Spec/Gloss.
Когда объект находится во вьюпорте — переходим в Texture Set Settings — Bake Mesh Maps. В этом окне находятся все настройки запекания.
Dilation Width или паддинг. Параметр отвечающий за создание «буферных зон» вокруг UV шелла, которые копируют пиксели на его границах. Он используется, чтобы избегать артефактных линий на UV швах. Его значения нужно менять, если возникли подобные проблемы.
Apply diffusion по сути повторяет функции Dilation Width, но закрашивает полностью все пустое пространство на UV, а не только зоны вокруг UV шеллов.
Use Low Poly Mesh as High Poly Mesh. Позволяет запекать лоуполи меш сам на себя. Игнорирует хайполи геометрию.
High Definition Meshes. В эту область нужно загружать High poly геометрию, с которой будет запекаться карта нормалей.
Use Cage дает возможность запекать карту нормалей с помощью Cage, о котором мы говорили в прошлых статьях цикла.
Cage File — графа для загрузки файла с Cage, который можно экспортировать из 3ds Max или другого 3D редактора.
Max Frontal Distance регулирует, насколько далеко полетят лучи над геометрией, чтобы захватить элементы с хайполи.
Max Rear Distance регулирует, насколько далеко полетят лучи вглубь геометрии, чтобы захватить элементы с хайполи.
Relative Bounding Box чаще всего не трогают. Он изменяет единицы измерения, которые используются при запекании.
Average Normals — усреднение нормалей, о которых мы говорили в прошлых статьях.
Ignore Backface — включает игнорирование объектов с суффиксом, указанным в графе «Ignore backfaces suffix».
Antialiasing настраивает силу антиалайзинга. Антиалайзинг — технология для устранения эффекта «зубчатости». Этот эффект возникает на линиях, расположенных под углом.
Match — переключает режим запекания между двумя опциями. Always — запекание всех объектов без ограничений. Если два объекта находятся слишком близко друг к другу, они начнут «делиться» информацией с хайполи и создает артефакты. Чтобы избежать этого, нужно разнести отдельные элементы друг от друга. Но это долго и неудобно.
Поэтому есть второй вариант — режим «By Mesh Name». В нем лоуполи и хайполи запекаются, только если их имена совпадают.
Low poly mesh / High poly mesh / Ignore backfaces suffix — суффиксы в именах мешей, которые нужно задавать каждому элементу в 3D редакторе перед экспортом. Эти суффиксы помогают определять пейнтеру где лоуполи, где хайполи, и какую геометрию нужно игнорировать при запекании.
Если в имени хайполи и лоуполи версии одного элемента есть разница или неправильно прописан суффикс — карта нормалей не запечется.
На примере видно, что летающая геометрия начинает «плыть».
Это происходит из-за настройки average normal: мы не можем отключить эту галочку, ведь тогда грани запекутся со швами.
Решений существует несколько, но самое быстрое при работе с Substance Painter — запечь две версии карты нормалей со включенной и выключенной галочкой Average Normal, и объединить их в Photoshop.
На детализированных объектах процесс комбинирования карт в фотошопе забирает много драгоценного времени. К тому же, у Substance Painter есть проблемы с качеством запекания других карт. Из-за этого многие художники предпочитают печь в Marmoset.
Главное преимущество SP — карты уже находятся в проекте, и их не нужно загружать отдельно. Это означает, что после запекания можно сразу же приступить к текстурированию, или накинуть генератор и увидеть, как они работают.
Marmoset Toolbag 3 изначально она был рассчитан на работу с real-time рендером, освещением и бейкингом. Недавно разработчики выпустили Marmoset 4, но по части запекания практически ничего не изменилось, поэтому разбираться будем на примере третьей версии.
Для начала, в левом верхнем окне создаем «New Baker».
Загружаем ассет через кнопку Load. Важное примечание: в отличие от Substance Painter, в здесь можно загрузить один FBX/OBJ, в котором будет находиться и лоуполи, и хайполи. Он сам разносит их по нужным папкам на основе имен и суффиксов.
Когда геометрия прогрузилась во вьюпорте, лучше отключить отображение слоя «High», чтобы не перегружать компьютер.
Use hidden Meshes — использовать геометрию из спрятанных слоев;
Ignore Transform — игнорировать трансформации объекта, проведенные в Marmoset;
Smooth Cage — сгладить Cage;
Ignore Back Faces — игнорировать заднюю сторону полигонов;
Tangent Space — выбор между DirectX и OpenGL;
Галочка Auto-Reload напротив кнопки Load — автоматически подгружать новые версии загруженного ранее файла FBX/OBJ.
bake.psd. — для настройки пути и имени, согласно которым сохранятся результаты запекания.
Samples — качество запекания. Чем выше значение — тем лучше качество и дольше процесс бейкинга.
Soften — сглаживает результат запекания. Может быть полезен, чтобы лучше сгладить углы или скрыть границы Float geometry.
Format — настройки битности.
Multi-Layered PSD позволяет записать все запеченные карты в разные слои одного файла для Photoshop.
Padding — аналог Dilation Width из Substance Painter. Зарисовывает области вокруг UV шеллов, чтобы избежать швов при работе мипмаппинг.
Padding size определяет размер паддинга.
Multiple Texture Sets дает возможность запекать несколько текстурных сетов. Текстурные сеты пекутся в таком случае основываясь на назначенных материалах. Каждый материал — это отдельный текстурный сет.
Resolution — разрешение, в котором будут запекаться карты.
Кнопка Configure позволяет добавить/убрать все доступные для запекания карты из списка быстрого доступа.
На сложной геометрии видно те же проблемы с плывущими деталями, которые мы видели в Substance Painter. Но Marmoset позволяет локально редактировать направленность нормалей и размер Cage. Для этого нужно перейти в слой Low и выбрать Paint Offset и изменять размер Cage, либо Paint Skew для редактирования направленности нормалей.
Теперь на исправление поплывших элементов будет уходить пара минут.
Мы не говорили о запекании в 3ds Max, Maya, Xnormal и других подобных программах, так как их инструментарий заметно устарел и отстает по удобству от Substance Painter и Marmoset. Это не значит, что в них нельзя запечь нужные карты — просто на это уйдет больше времени.
Преимущество современных программ — отображение результатов запекания в реальном времени и интуитивно понятный интерфейс. Если в 3ds Max запеченную карту нужно сохранять отдельным файлом и подгружать в материалы, чтобы увидеть результат на модели, то в SP все реализовано проще.
Карты автоматически назначаются на модель и сохраняются внутри проекта. К тому же, пользователю доступен дебаггер, который позволяет просматривать все карты вместе и по-отдельности.
Мы рассказали, как работать с обеими программами, про их плюсы и минусы. Твоя задача — решить, какая программа лучше подходит под твой пайплайн. А с этим мы поможем тебе разобраться на нашем курсе 3D PRO. Переходи по ссылке, чтобы получить бесплатный пробный урок.
Articles about What Does Paint To Match Mean
PPG offers DIY painting advice and professional support on a variety of topics. Check out the articles below for more information to help make your next painting project a success.

What Are The Most Popular Paint Colors?
Find the most popular paint colors of 2019
Look for bright paint colors and unexpected places to use them.
View The Most Popular Paint Colors

Global Paint Color Trends
Where Do Color Trends Come From?
A behind-the-scenes look at how we created the 2019 Color Trends.

Harmony Color Collections
The Harmony Collections offer personal, meaningful colors that all work together for wall, trim, furtniture and accessories.

Color Of The Year: Night Watch
Classic luxury meets nature in this trending deep green paint color
This trending deep green paint color emulates the feeling of lush greenery.

Color of the Year: Violet Verbena
A grounding violet nuanced with a shade of gray
Violet Verbena is at once as nostalgic as it is modern.

Color of the Year: Paradise Found
An edgy green that hints at nature and comfort
Represents the ease and rejuvenation one feels in nature.

Paint Color Palette: We Are
Colors for communal experience and collective discovery
Collections that reflect shifting intentions about how we live.

Color Trend: Core/Relation
Connecting color to social and cultural undercurrents
Connecting color to social and cultural undercurrents.

Color Trend: Pendulum
Predictions for how color schemes will swing with design trends
Trends are similar to a pendulum in that they have a force behind their beginning.

Color Trend: Odyssey
Palettes to transform the mood of a space
Conjure adventures and discoveries but also the possibility of danger.

Color Trend: Possibilities
Finding beauty in tech-inspired colors
Each of the four themes personifies technology in its own unique way.

Color Trend: Pause & Refresh
Refreshed thinking drives five color trends
This single idea generates multiple design possibilities.
Paint Trend: Color Minded
Designs imbued with well-articulated expression
Look for bright paint colors and unexpected places to use them.

Live in color with these design ideas
Let confident gorgeous colors help you define home.

Trend: Wow Color Now
Bodacious reds, watery teals and rusted hues
Go for vibrant color choices like lipstick reds and azure blues.

Trend: Our New Home
Colors for now, remembering the past
The palettes blend calming, classic neutrals with standouts.

Color Trend: Surreal Real
Palettes embodying discovery and observation
These colors represent all that is logical, tangible and knowable.

Color Trend: Eco Echo
Colors for new outlooks on self-expression
A new outlook on our core values and the ways we express ourselves.
.jpg?width=500&height=500&ext=.jpg)
Color Trend: Confluence
Palettes draw inspiration from the natural world
Evoking thoughts of far-off destinations to conjure up exotic places.
.jpg?width=500&height=500&ext=.jpg)
Trend: The Light Years
Styles and colors of a new paradigm
Palettes deigned to interpret the spirit of the future.

Paint Color Palette: You Love
Colors inspired by social events, fashion and technology
The world of interior design is subtly reinvented from season to season.

Vicente Wolf Paint Color Collections
Emotional spaces by international designer and color enthusiast Vicente Wolf
Emotional spaces by the international designer and color enthusiast.

Modern Farmhouse Collection
Authentic and uncluttered paint colors
Add contrast with clean white walls and stark black accents.

Historic Color Collection
Design your home with the rich colors of heritage
Stay true to the architectural style of your home and give homage.

Exterior House Color Statements
Our most used, most specified exterior paint colors
If you’re only painting every eight to ten years, getting it right is crucial.

Interior Paint Color Statements
Top colors used by designers and pro painters
Curated color combinations to pull off a coordinated look.
Subscribe for email updates
How To Paint Your Replacement Plastic Bumper

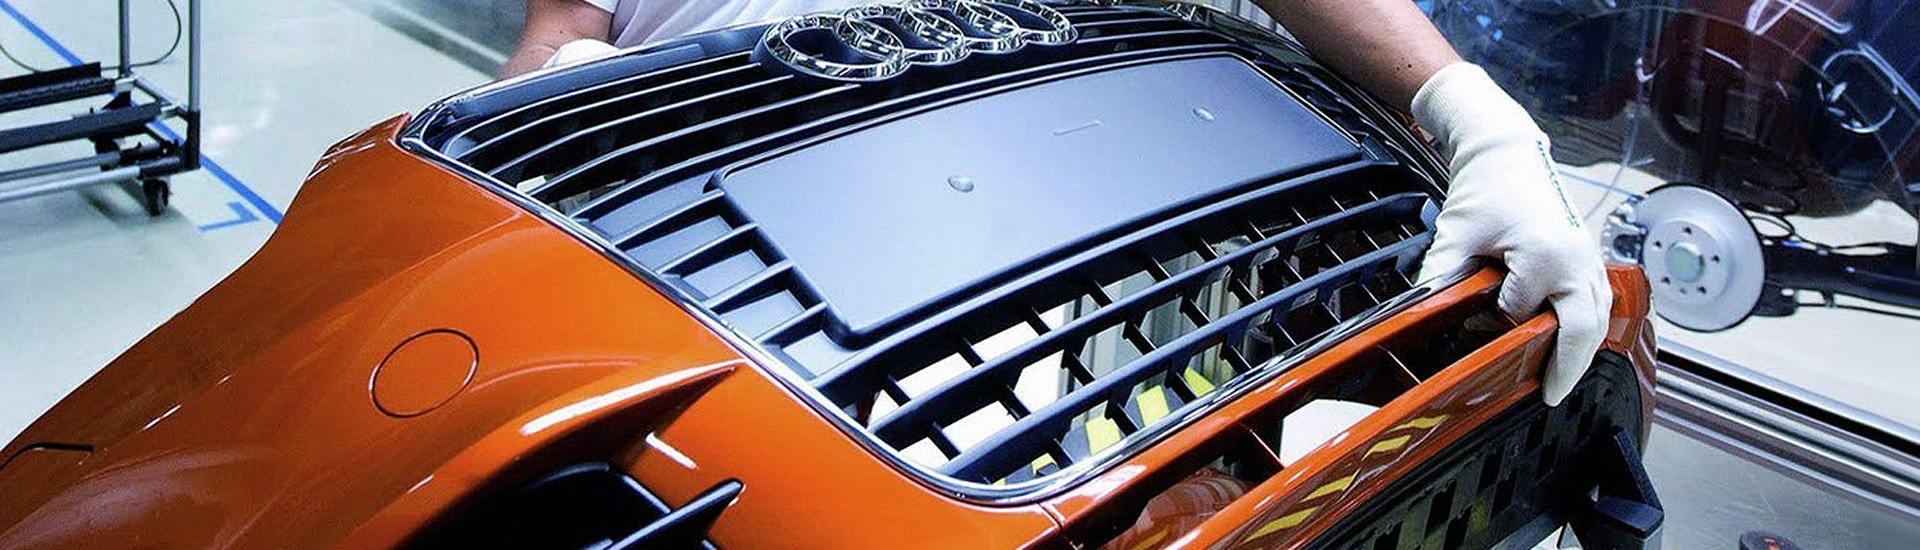
If you’ve decided to replace a damaged front or rear bumper cover with a new one, the good news is your vehicle really is going to look a whole lot better once the job is done. Of course, the areas of major damage will be gone and will no longer be a value-deflating eyesore. You’ll also have a new piece that’s free of the chips, dings, and even cracks you’ve been putting up with.
 Dupli-Color Touch-Up Paint is available in factory-matching paint codes for your vehicle.
For example, your vehicle may not be that old, but new paint may still need to be color-adjusted to compensate for a slight amount of fading if the vehicle sees regular sun exposure. Or maybe you’ve got a custom color that’s difficult to match.
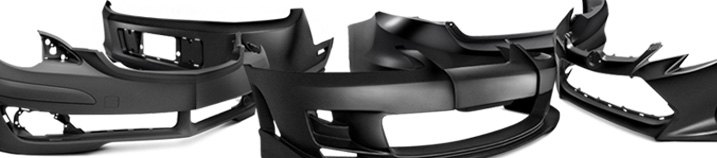
In this article, we’ll show you the basic steps involved with painting a new plastic bumper so you can decide for yourself if it’s something worth trying. These steps apply to any plastic bumper cover that could be purchased in the Replacement Bumpers and Components section of our website.
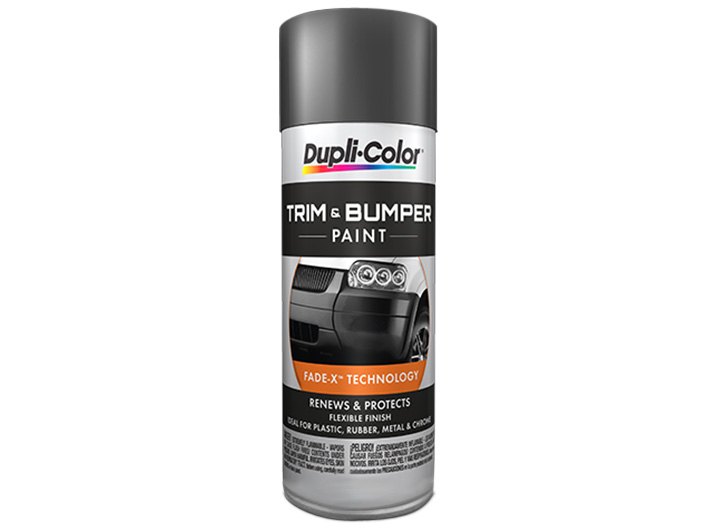
If the original bumper was a dark color, or, if you want the new bumper to be a contrasting dark gray or black, we have several choices for you. We have Dupli-Color Flexible Bumper Coating in 11-ounce spray cans with a choice of black, dark charcoal, gray, or medium silver. The SEM brand Bumper Coater is available in spray cans in a plethora of dark colors.
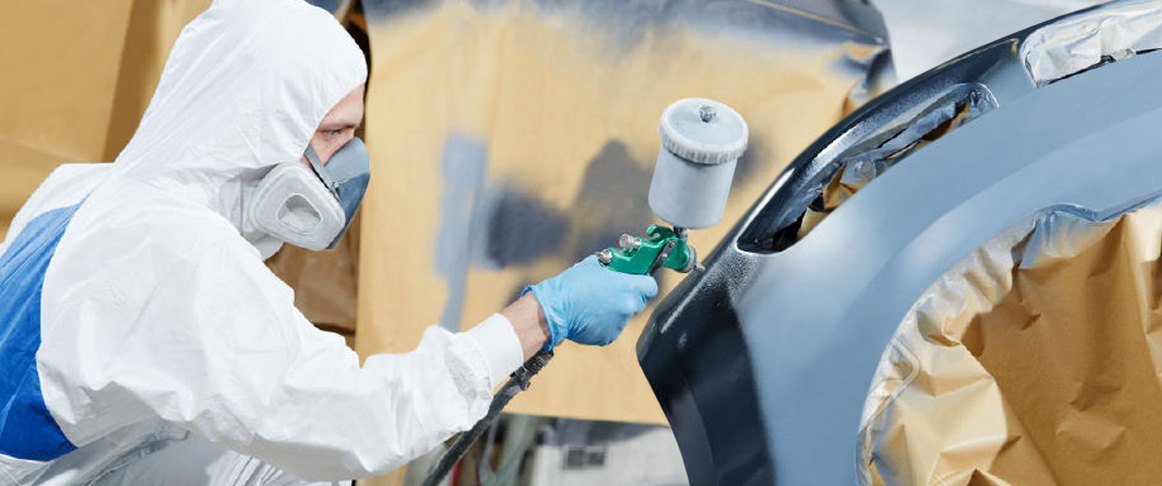
Should you prefer a factory match of your vehicle’s original paint color, we’ve got Dupli-Color spray Touch-Up Paint that’s available for a wide variety of cars and trucks. If you’re intent on using a paint spray gun (and we have a great selection), check out the Dupli-Color Paint Shop Finish System, which includes everything you might need. We also recommend choosing a good mask or respirator while painting in order to avoid exposure to carcinogens.
Once year, make, and model are entered in the Product Options field, you’ll be presented with a list of paint code numbers and colors originally offered by the vehicle manufacturer. Be sure to accurately note your car’s paint code, which you will find on a label, likely under the hood or in a door jamb.
 If taking your automotive painting to a higher level is of interest, we offer great values on paint spray guns.
Before you start, make sure that you have a well-lit, well-ventilated, and safe place to work. Preparation is key. This is not the kind of job you can accomplish on a pair of sawhorses in your backyard on a breezy day when your neighbor is mowing his lawn (not if you want a professional appearance). If the ways and means are outside your scope, please consider getting the bumper professionally refinished.
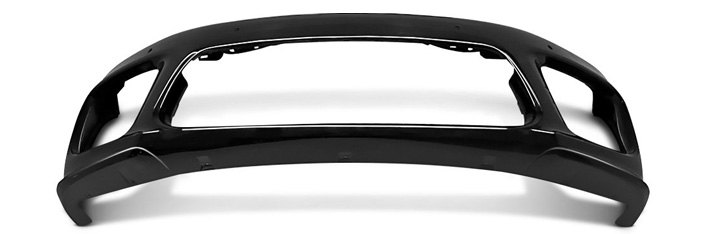
Step 1: Wet Sand Any Imperfections On The Surface Of Your New Bumper Cover
Even though your new bumper cover will arrive already painted with a layer of primer, it’s normal for the coating to be slightly rough and have flaws that will be magnified once a layer of glossy paint is applied. Run your hands over the surface to learn where rough areas are.
Step 2: Thoroughly Clean All Surface Areas
When you’re satisfied with the look and feel of your bumper cover after wet sanding, thoroughly clean all surface areas with a paint prep product, such as Install Bay’s Acrysol Paint Preparation. The goal is to completely remove any dust left over from the sanding process in Step 1. Use a clean microfiber towel to wipe everything dry once you’ve finished cleaning.
Step 3: Apply Your Main Base Coat
The base coat is the color paint that the eye will see once you’ve finished, so you’ll want to take measures to ensure this paint goes on evenly without dribbles, splatter, or runs. First, activate your spray can or paint gun before your first pass over the bumper cover.

As you apply paint, do so from a distance of 9-12 inches away from the surface. Keep the application light, and make many passes back and forth until you’ve covered the whole bumper cover. Try to apply your paint with each pass so that it overlaps the previous pass by about 50%.
Let the paint dry and check for imperfections. If you see any, use the wet sanding process again in order to smooth things down. After drying, repeat the base paint application process two more times until three coats have been applied. At this point, the paint should look good. However, it won’t have a glossy showroom glow until the clear coat layer is applied in the next step.
Step 4: Apply A Clearcoat Layer Of Paint
You’ll be applying the clearcoat shine layer in the same exact manner you applied the base color paint. Spray light applications from 9-12 inches away, with a 50% overlap on each pass. Apply three separate coats, waiting six hours between each. If you notice any runs in the clearcoat, wet sand them away with 600 grit sandpaper. Once you’re completely done and satisfied with the results, wait at least 6 more hours before installing the bumper cover on the car.
When you need clearcoat paint designed for automotive plastic and metal surfaces, we’ve got you covered. Choose Transtar MAX Clearcoat or True Finish Urethane Clearcoat if you’ll be using a paint gun, or PJ1 Gloss Clear Epoxy Paint which comes in its own self-contained aerosol can.
![]()
Step 5: Remove Your Old Bumper Cover And Install The New One
Removing and installing plastic bumper covers is a straightforward process because most are designed to unbolt with basic hand tools and slide off easily. Attachment hardware for bumper covers is within quick reach under the hood, inside the trunk, within the wheel well openings, and/or underneath the vehicle where bumpers join to splash shields. For more detailed steps on removing and installing vehicle bumper covers, we invite you to read our related article How Do I Repair or Replace My Plastic Bumper Cover?
Here is our take on the whole process: if you have the time and inclination to tackle a (relatively small) job like this yourself, you are going to feel extremely proud of the results, even if the final finish is something slightly below what Billy’s Bumper Shop could churn out.
We have long felt that «pride of ownership» extends to repairs that you’ve tackled yourself. You are purchasing the bumper anyway; you will either be paying Billy for material and labor, or, you can make a small investment in supplies and make it a DIY job. We vote for the latter. But watch out; if it goes well, your friends will be asking you to perform paint repairs on their cars for them!